


Explore Knowledge Articles
Back
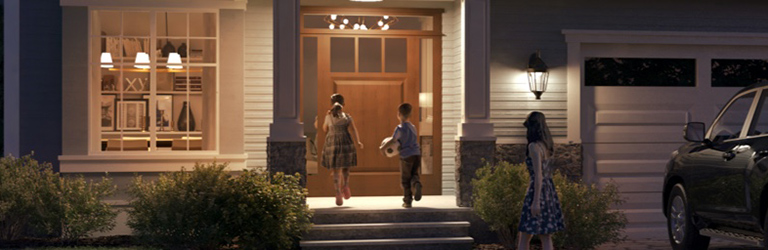
How to create a schedule in Caséta or RA2 Select
Creating A Schedule in the Lutron App
Before creating a schedule, the Caséta device (dimmer, switch, fan control, plug-in dimmer/switch, or shade) must first be added to the Lutron app. This requires downloading the Lutron app on your smartphone or tablet, creating a free account, and setting up the Caséta smart hub.
If you have difficulty setting up the smart hub, review the Smart Hub Setup and Install article on the Caséta Support Site for troubleshooting steps.
Review the following information about schedules in the Lutron app before creating a scheduled event:
- A schedule is a set of events.
- An event activates only one action (i.e. on or off) for a device or group of devices. The device(s) remain at their programmed level until a different scheduled event, scene, timer, or manual action adjusts the device(s).
- An action sets a device's programmed state. For example, setting a dimmer to 70% light level, closing a shade, or turning on a switch.
- To set the scheduled device(s) to their previous level, another event must be created. For example, if you create an event to turn your landscape lights on at dusk, another event must be created to turn them off at dawn.
Click here for additional schedule information in the Caséta system.
- Maximum 50 scheduled events per Caséta smart hub.
- Scheduled events depend on the Caséta smart hub having a reliable internet connection to determine accurate time. If the time is unable to be retrieved from the internet, the event may not execute at the scheduled time.
- Events are displayed in the Lutron app in the order they are programmed to activate. They appear in order from 12:00 AM through 11:59 PM (0:00 hours through 23:59 hours). They can not be rearranged within the app.
Scheduling A New Event
Follow the steps below to create an event in the Lutron App:
1.Tap SCHEDULES on the right-hand side of the home screen to access the schedules menu.
2. Select Schedule an Event from the schedules menu.
3. Enter the name of the event in the text box (for example, "Porch Light"), then tap Next in the top right-hand corner.
4. Check the days of the week you want the event to run, then tap Next.
5. Tap Time of day or Sunset/Sunrise and choose the time you want the event to run, then tap Next.
6. Choose the device and set their levels for the event you are scheduling, then tap Done/Save in the top right-hand corner. The smart hub will finish programming your system. This may take a few minutes to complete.
7. If your schedule turns lights on and opens shades, you will get prompted to create a schedule that will turn the lights off, close the shades, or both.
8. If you choose to create the off event, you will get taken to the time screen. The time will by default be set to one hour after the initial schedule, but you can update it to be whatever time you want. Tap next after.
9. You will be taken to the “Event Details” screen. The name of the schedule will add the word “Off” at the end by default, but you can adjust the name to whatever you want. You can also adjust other details, such as the days to run the schedule, the devices to trigger, etc.
Important reminders:
- An event can activate only one action (i.e. on or off) for a device or group of devices. The device(s) remain at their programmed level until a different scheduled event, scene, timer, or manual action adjusts the device(s).
- To set the scheduled device(s) to their previous level, another event must be created. For example, if you create an event to turn your landscape lights on at dusk, another event must be created to turn them off at dawn.
Was this article helpful?
Thank you! We appreciate your feedback!